The Ultimate Guide to Designing an Engaging Retail Store Layout
Table of Contents
1. What is a retail store layout?
2. What are the components of a retail layout?
3. What makes a retail layout effective?
What is a retail store layout?
A retail store layout is an integral part of a retail management strategy. It refers to the design of a store floor plan and the placement of displays and fixtures intended to influence customers’ experiences, movements, pace, behaviors, and purchase decisions. It uses space management techniques to optimize sales per square foot, operational cost-efficiency, and profitability.
A store layout strategy also involves placing similar product categories and related items close to each other to generate additional cross-category or cross-brand sales. It aims to evoke positive emotions and attitudes, so shoppers are more inclined to make purchases. Furthermore, proper store design can help prevent shoplifting by placing high-value items, exits, and security stations in strategic locations.
Components of a Retail Layout
A retail layout plan sets the foundation for designing a retail store. It covers various aspects of store design and shop planning with the following key components:
Merchandising Space
Designing a layout should include plans for how much merchandise is needed to ensure that a sufficient inventory level is on display. Knowing these requirements will help determine the type of displays and fixtures required and their placement. Allocating the appropriate amount of shelf and display space is an important aspect of product visibility and its overall desirability.
The velocity of an item and its strategic importance to your business are two major factors that influence merchandising space planning. These considerations have a dynamic relationship with the store’s inventory purchases, sales, and financial goals.
State of the Facility
You often need to work within the constraint of an existing facility with little or no control over the placement of elements such as doorways, outlets, pillars, natural lighting, and so on. As such, you must accommodate them in your store layout and even turn them into opportunities to augment the shopping experience.
Refer to a current and accurate plan to see where these elements are. Understand how they impact the quality of the space and use them to your advantage. For example, support pillars can help direct the flow of movement from one section of the store to another and will also impact the possible placement of fixtures and displays.
Display and Fixtures
In retail, fixtures and displays are often used interchangeably to refer to the merchandising vessels of a retail store. However, they actually play two different roles within a store layout.
Fixtures refer to permanent pieces of equipment or furniture that are used for displaying products or enhancing the functionality and feel of a space. These units are fixed into place and will act as the foundation of a store’s layout. Examples include stationary shelving units, end-caps, checkout or display counters, directional signage, lighting, and so on.
In contrast, retail displays are less permanent and are separate from fixed store installations. These units are designed to be moved and adapted as merchandising needs evolve and change. These units will typically incorporate visual branding elements to draw shoppers’ attention to the products. Examples include gondola displays, point-of-purchase (POP) displays, platform units, nesting tables, sidekick displays, and more.
Customer Flow
Customer flow is the typical pattern by which a customer travels through a store. Most shoppers enter a store, turn right, walk through the space in a counter-clockwise direction, and exit on the left side of the entrance. Your store layout should facilitate the movement of people at a pace that’s conducive to browsing and purchasing.
A store layout can help improve customer flow management with the strategic placement of store fixtures and retail displays. When done well, you can effectively guide customers through your merchandise offerings and toward the checkout area to maximize sales, minimize frustration, and optimize staff utilization. Get a feel of how customers move through the space by observing shoppers in your store, analyzing purchase data, and reviewing time-lapse videos from in-store cameras.
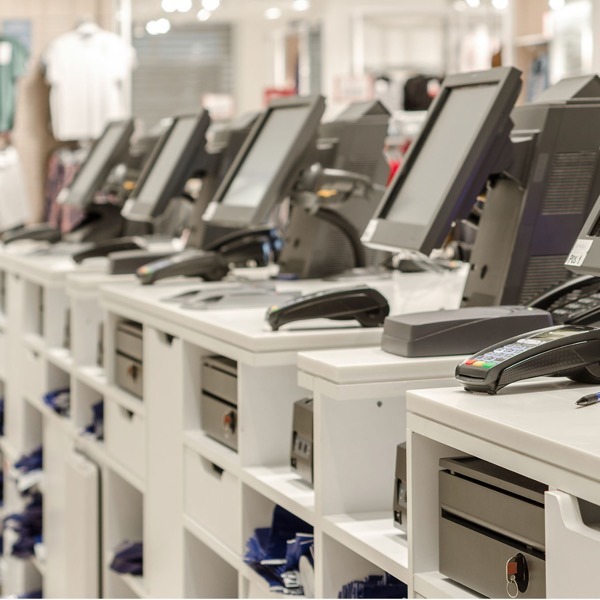
Checkout Areas
Your checkout area is more than a place for the cash register. It’s the last place where you can upsell a customer. This area should incorporate impulse-buy items for customers to browse as they wait to pay. There are different types of checkout styles to consider:
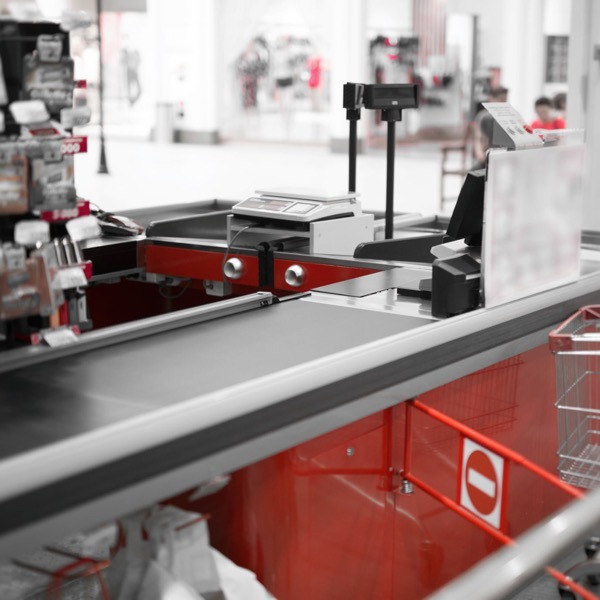
Checkout Lanes
This traditional layout consists of multiple lanes where customers checkout with the help of a cashier. It’s often used in grocery stores and big-box retailers.
Checkout Counter / Cash wrap
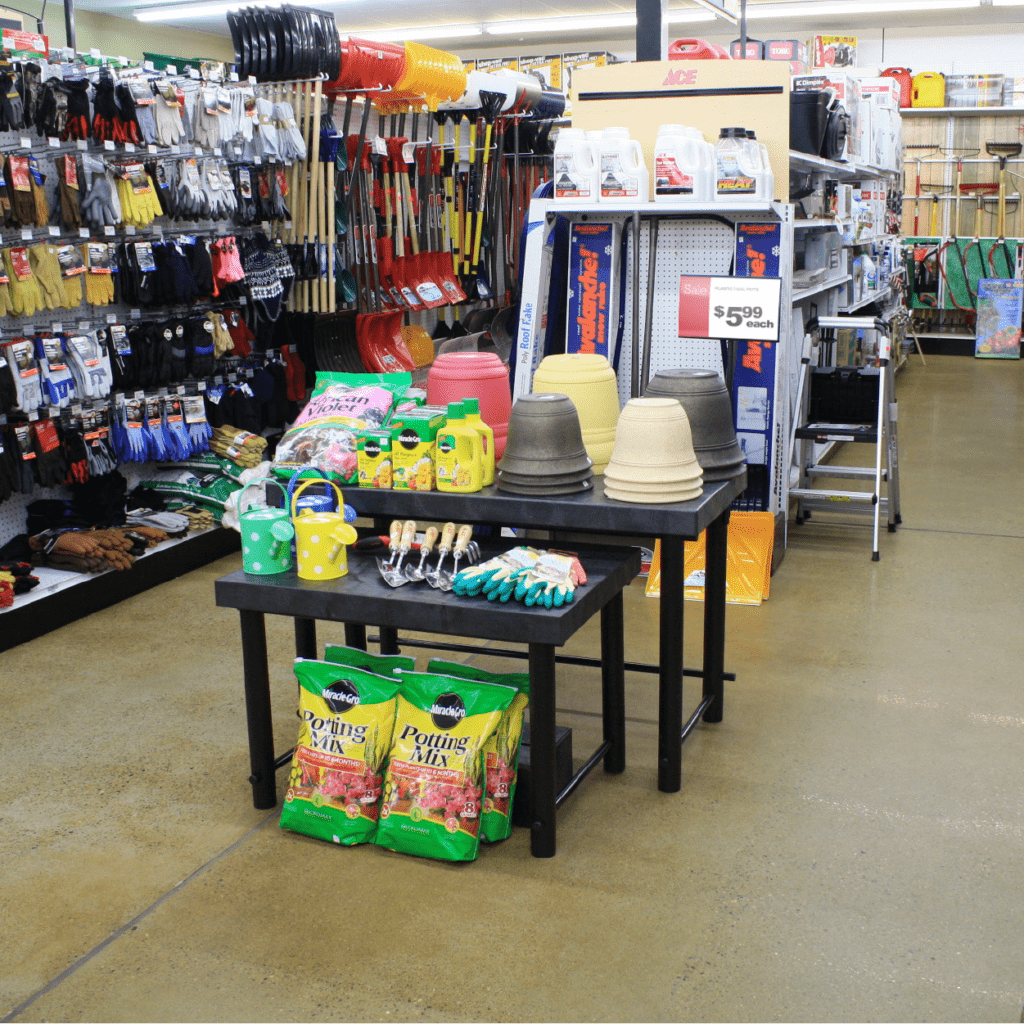
This layout consists of one or more registers on a single counter. It’s most common in smaller format stores, such as pharmacies and garden centers.
Customer Queue
This layout defines a path for customers to line up in as they wait for the next available cashier. It often features impulse-buy products. It’s mostly used in department stores and mid-sized specialty stores.

Self-service kiosk
This layout features a small freestanding structure that allows for customers to complete transactions independently. It’s often used to improve operational efficiency and customer experience.
Locate the checkout area at the end of the customer journey. In most cases this will be near the store’s exit, however, some layout types will benefit from it being more centrally located within the store. Regardless of where it’s put, the checkout should be highly visible to deter shoplifting and easy for customers to find.
Elements of an Effective Retail Layout
Many factors affect the effectiveness of a store layout. Here are the key elements you should consider to optimize customer engagement and product visibility:
Flexibility
An adaptable store design can help you adjust to shifting consumer trends and accommodate seasonal merchandise. In fact, being flexible can help you stay nimble in your retail strategy, merchandise displays, and customer flow management.
Here are a few ways to increase flexibility in your store layout:
- Use displays with a smaller footprint and compact design to free up space and make switching up your layout easier to respond to different needs.
- Display merchandise in an outdoor area that you can reconfigure with minimum disruption to your main displays.
- Use signage and visual elements to update messaging quickly.
- Leverage mobile POS technology to free up more space for merchandise display.
Aisle Structure
Aisle layout impacts customer navigation and product visibility. Aisleways that are too closely set together will make the space feel small and cramped. Maintaining an aisle that is at least four feet wide will provide ample space for customers to feel comfortable browsing products without feeling like they will bump into other shoppers.
In addition to providing shoppers with enough space to maneuver, you should avoid dead-ends in your store design. Examples of this could include placing small freestanding displays in the corner or creating aisleways that don’t allow shoppers to loop back around to the main power aisle. Simply incorporating end-caps at the end of aisles is a technique that will highlight product categories, while guiding shoppers from one aisle to the next.
There are various aisle styles that you can mix and match in different parts of the store to achieve the desired outcomes.
Clear Sightlines
Sightlines are the paths shoppers’ eyes follow as they walk through a space. Clear sightlines enable customers to navigate the store and locate products. Consider the customers’ eye level and what you want them to see as they enter and exit the space.
Maintaining clear sightlines throughout your store design can help you highlight or frame the most relevant and attractive products to drive sales. A shopper’s ability to quickly identify areas of the store and see products will help attract foot traffic to various areas of your shop and keep customers engaged.
Cross-Merchandising
This merchandising technique involves placing related or complementary products next to each other to promote add-on sales. It improves the shopping experience and makes it more convenient for your customers. It can inspire ideas, introduce shoppers to new products, or remind them of additional items they may need to increase sales and average order value (AOV).
There are different types of cross-merchandising strategies. For example, you can spark new ideas with thematic cross-merchandising and drive impulse sales by grouping complementary items together. Contrasting products can make merchandise stand out, and putting bestsellers next to underperforming products can help sell slow-moving items.
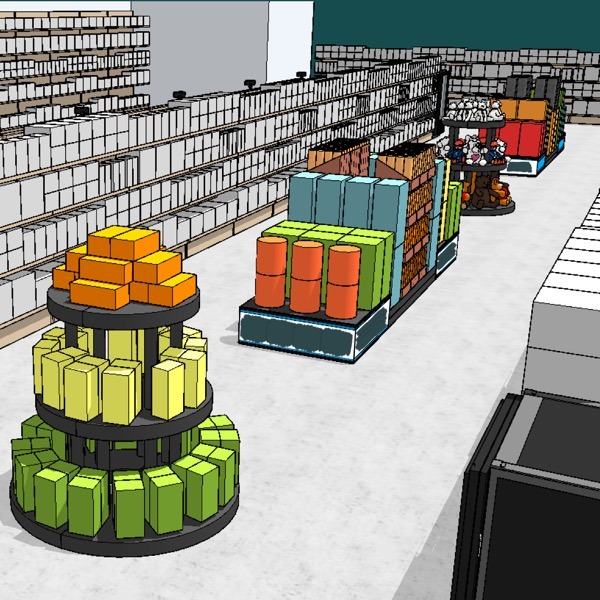
Speed Bumps
Speed bumps are eye-catching, high-impact displays strategically placed in aisles or primary paths to slow down the customer flow and attract attention to a product. They encourage shoppers to stop and browse, preventing them from speeding through the store.
You can use product demos, interactive shows, special displays, and similar to provide extra value, engage customers, and drive more sales. Speed bumps can also offer a visual break from the lines of products on the shelves while enticing shoppers to explore items that they may not be familiar with.
>> Related post: 5 Ways Retailers Can Generate More Foot Traffic
A 7-Step Framework For Planning Your Retail Layout
Here’s a step-by-step process to plan your store layout and address all the key elements of an effective interior store design.
Step 1: Establish Requirements
Take the time to understand the full scope of the project at this discovery phase by asking these key questions:
- What type of area do you have? Do you need to consider any pre-existing pathways? Understand what you have to work with, so you can make the most of the resources you have at your disposal.
- How is the area being used? What’s working and what isn’t? Observing how shoppers interact with the existing layout can give you insights to guide the planning process.
- What are the strengths and weaknesses of the space? This question can help you determine what elements to keep or highlight and identify opportunities to capture more sales.
- What major concerns do you want to address? Setting your priorities can help you allocate resources most efficiently. Focus on aspects that impact the customer experience and affect your bottom line.
- What does your dream store design look like? Identify the key elements in the concept that makes it your ideal design and turn them into a realistic strategy.
>> Related post: 5 Retail Layout and Design Questions You Need to Ask Yourself
After clarifying the requirements, you need to get down to the nuts and bolts of defining the project scope. This process involves establishing your budget, measuring the space, and determining your objectives. Balance the various constraints and requirements to achieve the most with your available resources.
Step 2: Choose Your Layout Type
Deciding the retail layout type will allow you to establish the basic framework for the store floor plan. Here are common layout types to consider:
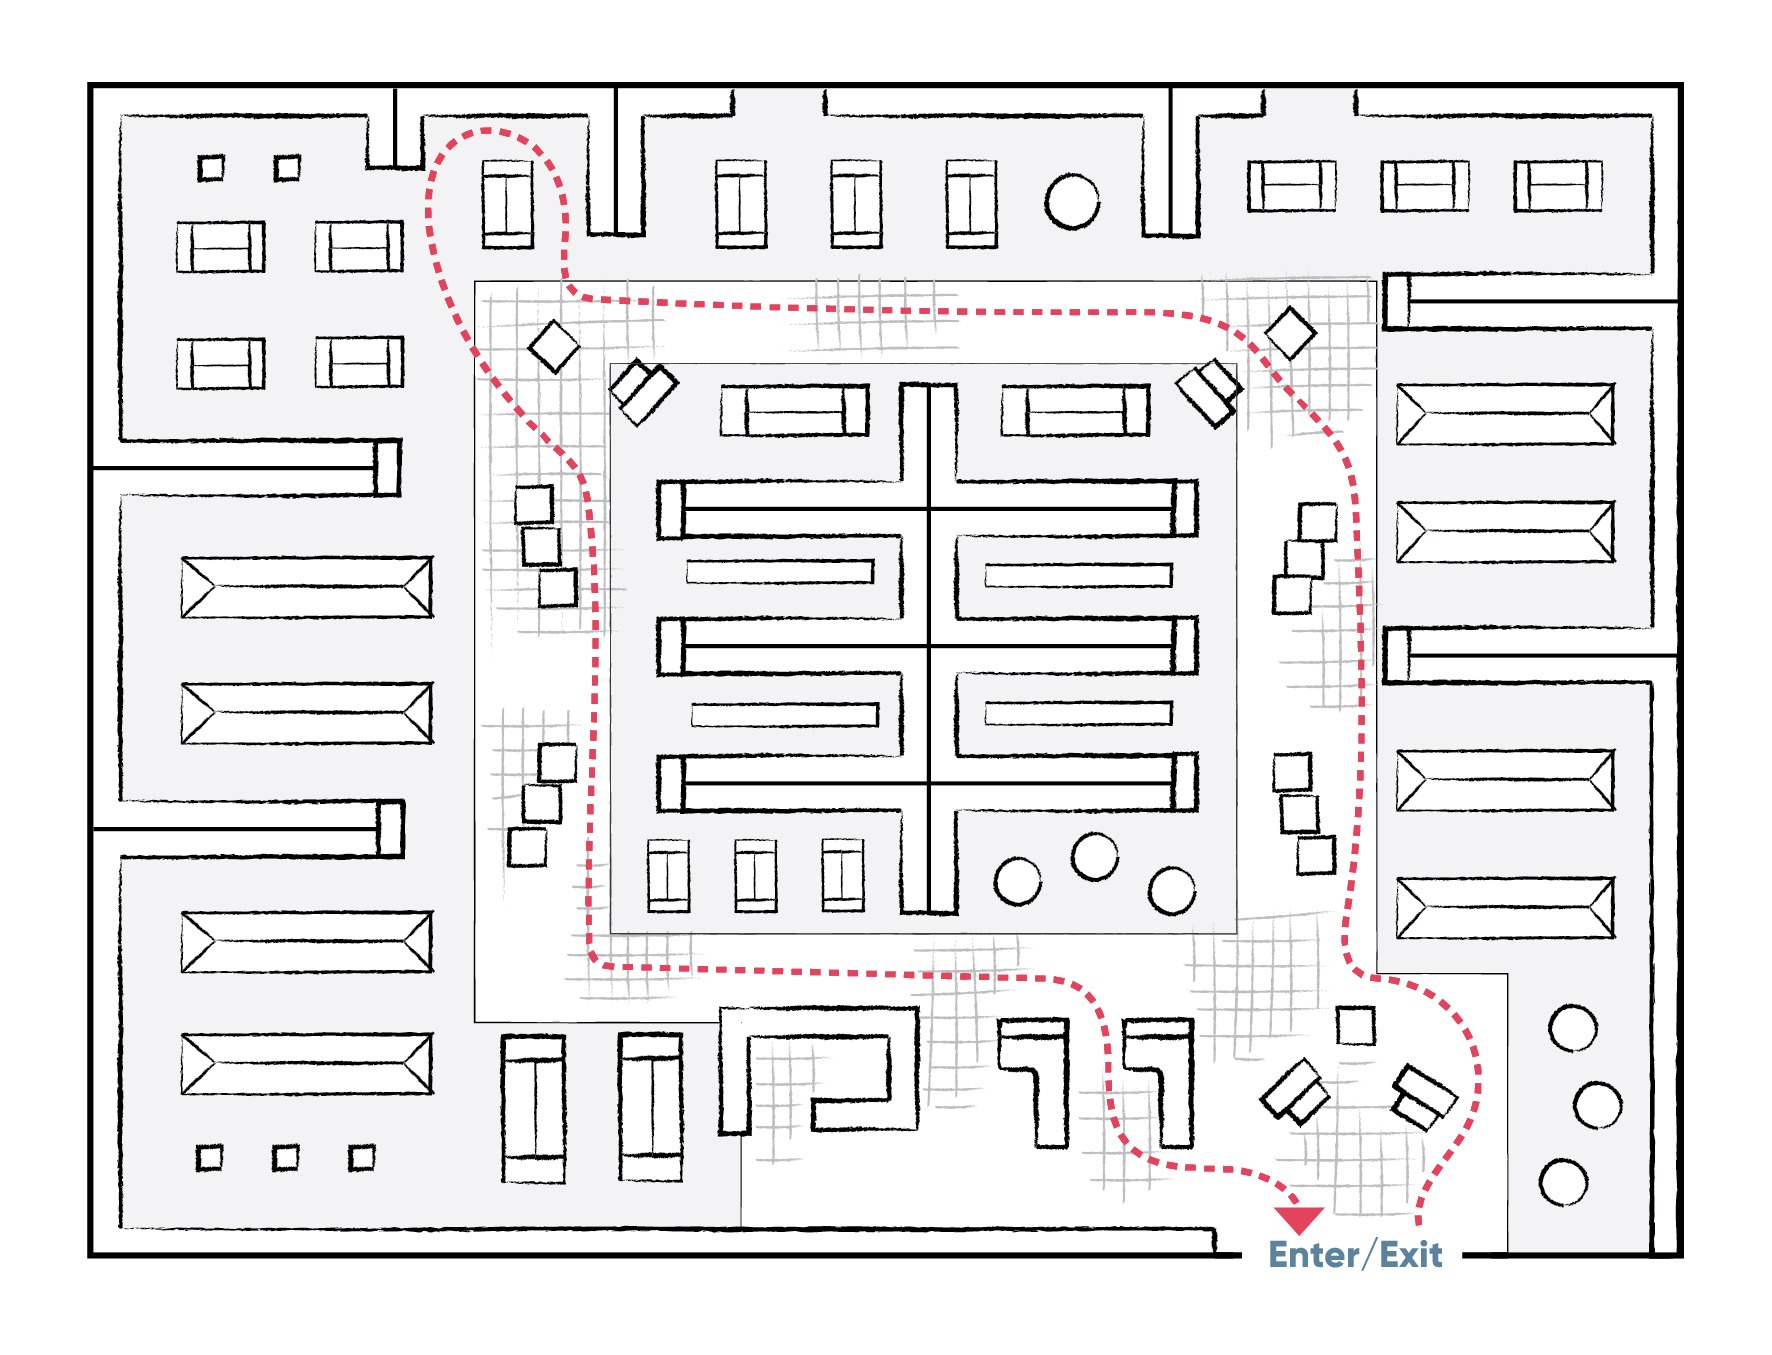
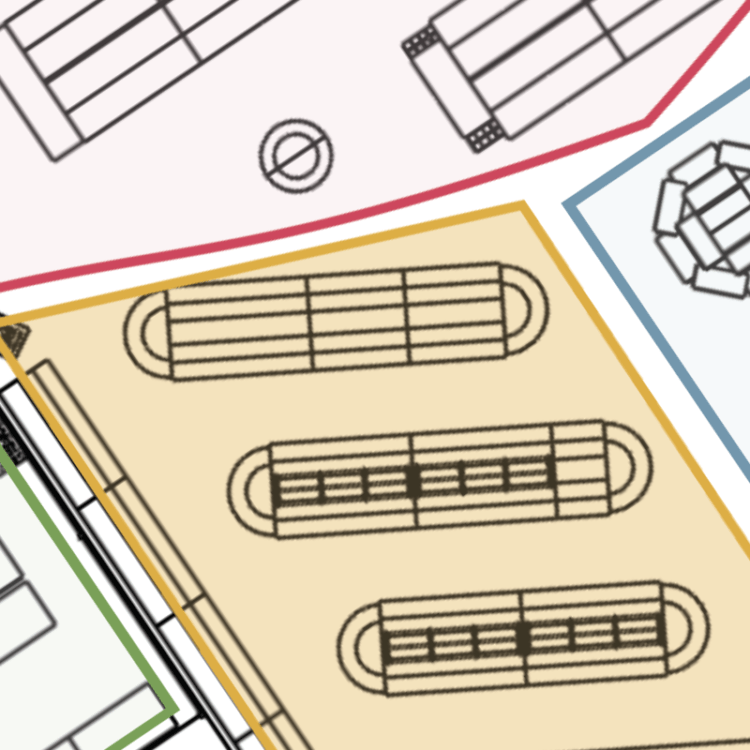
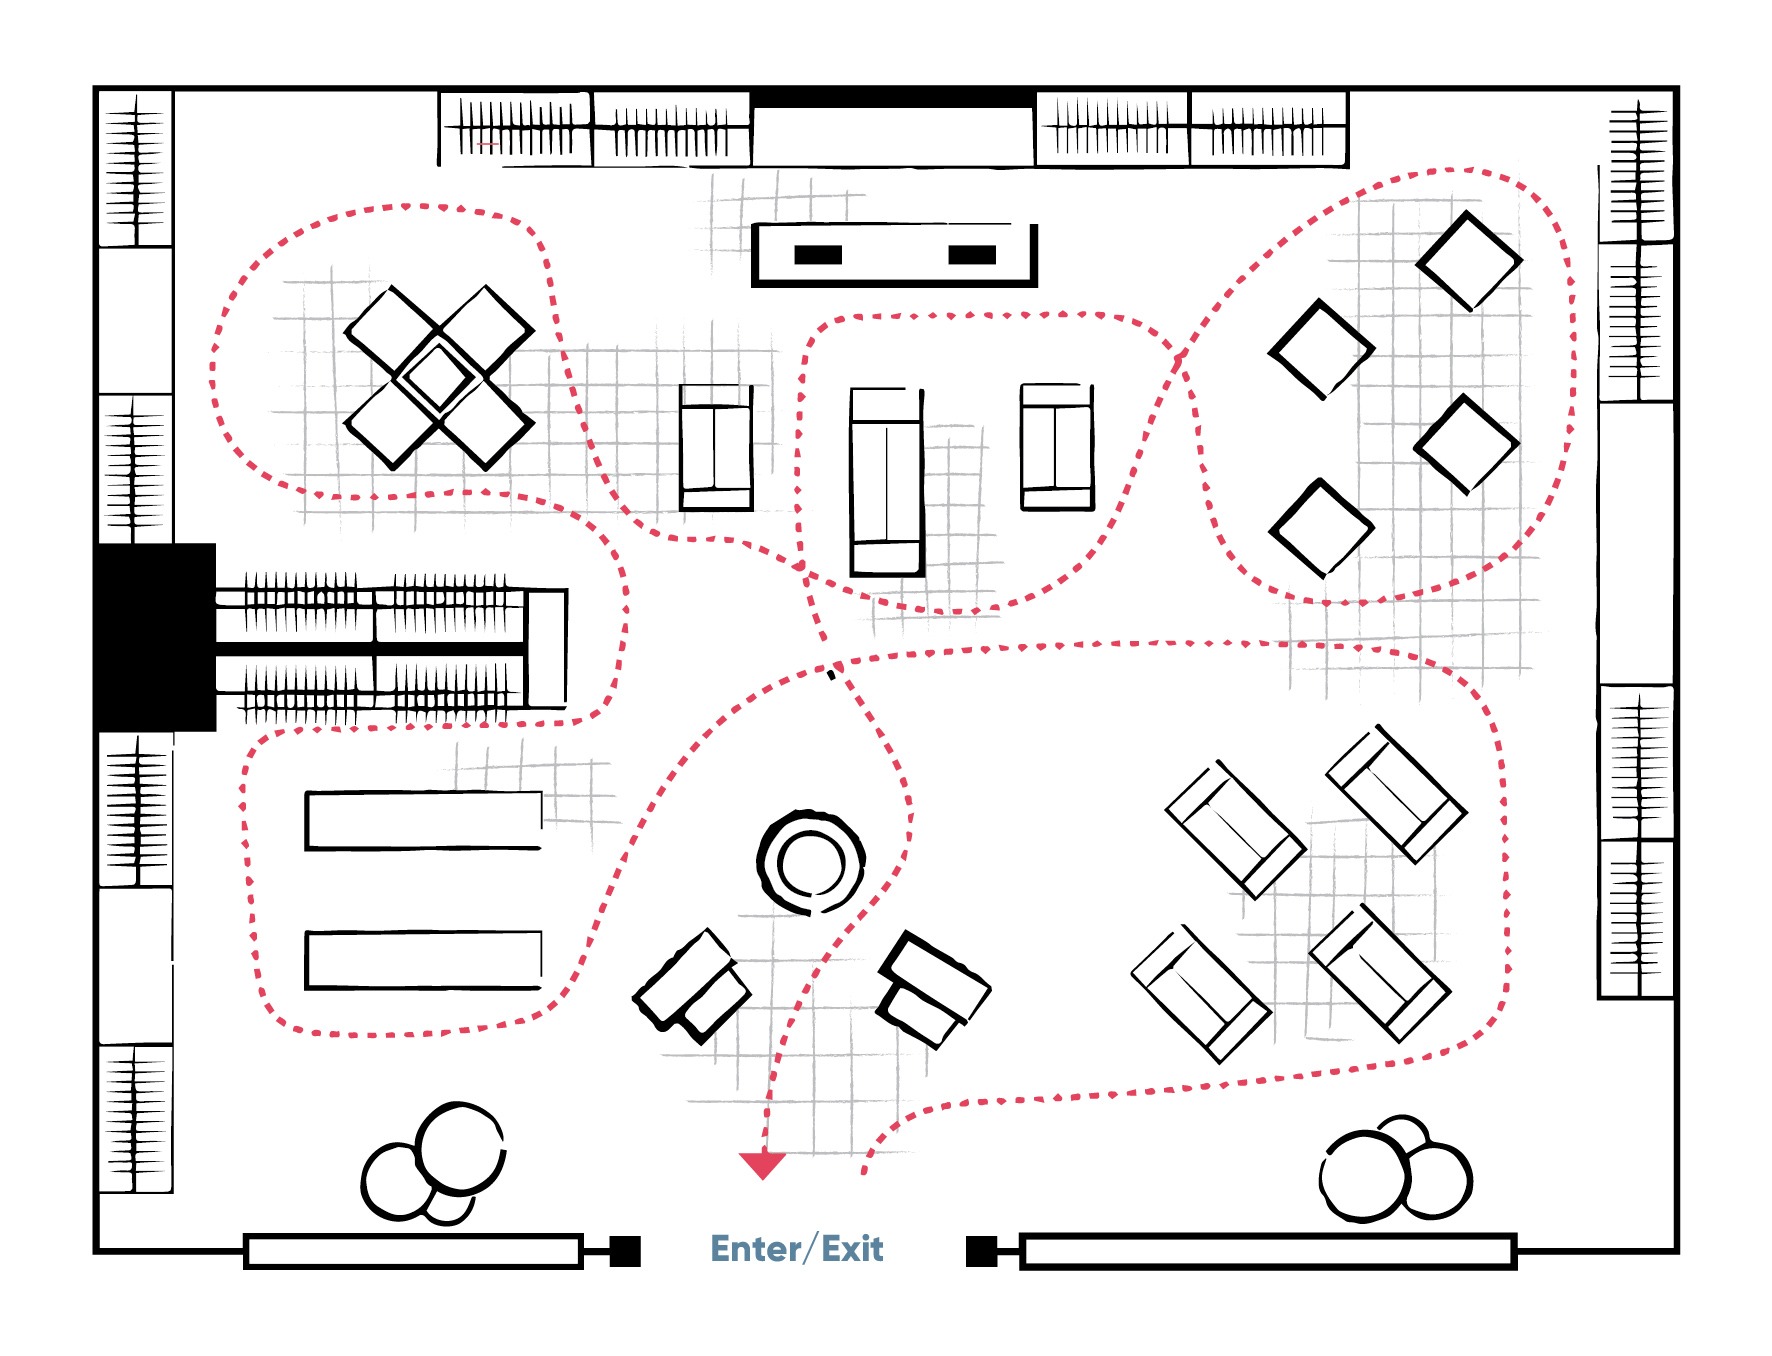
Loop/Racetrack
This layout creates a closed loop that leads shoppers past all the merchandise in the store. The highly-prescribed traffic flow works well with an experiential or sequential customer journey. It’s also great for maximizing product exposure and ensuring that shoppers see all the signage. However, it can cause frustration if your customers know what they need and want to get to those items as quickly as possible.
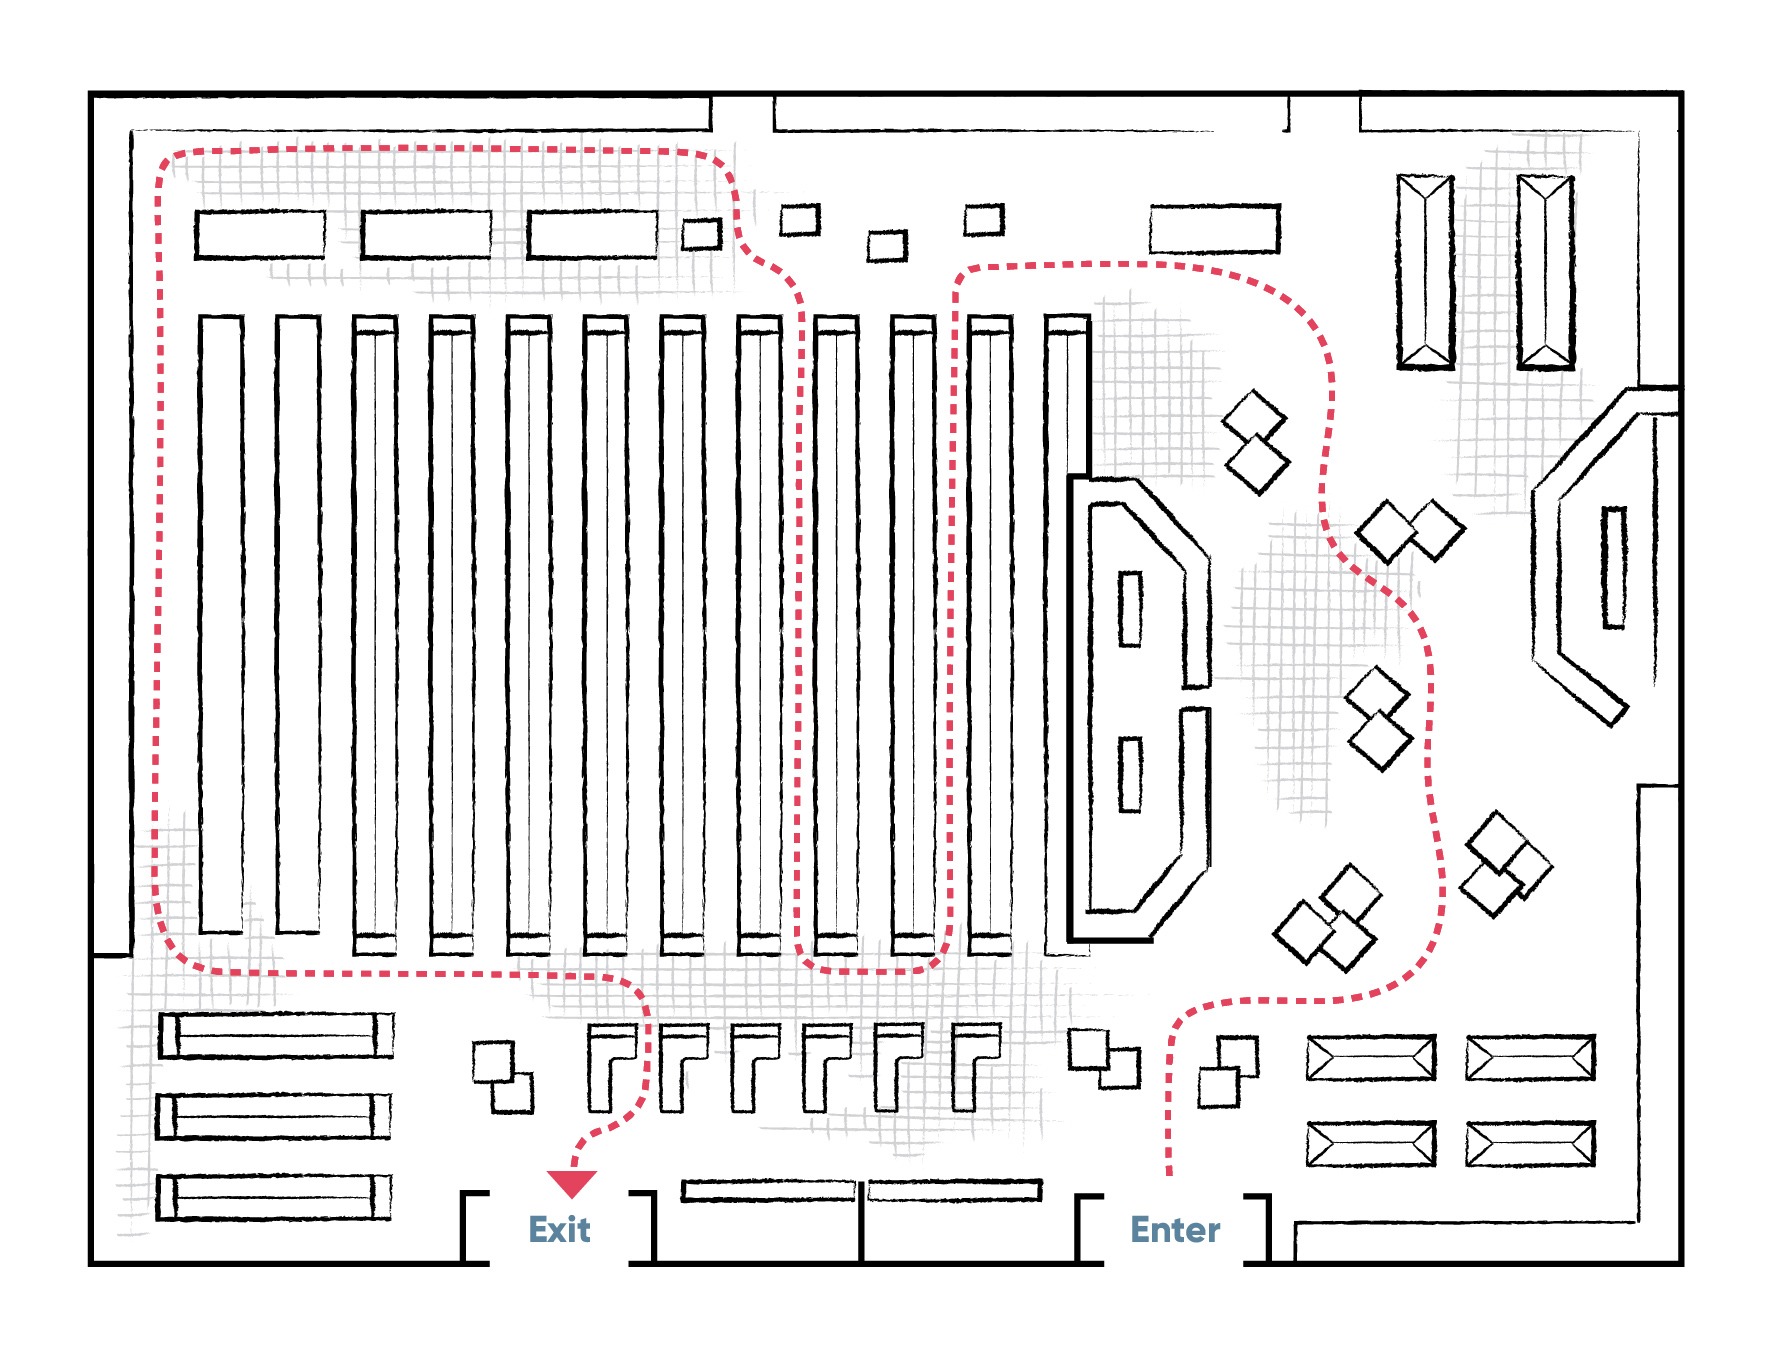
Grid
Most commonly used in convenience stores, pharmacies, and grocery stores, the grid layout displays merchandise in a predictable pattern while maximizing product display capacity and minimizing white space. It typically features long aisles with impulse-purchase items near the checkout area and staple items at the back. This layout is best for stores with a lot of merchandise. However, creating an exciting and experiential experience with this familiar layout can be challenging.
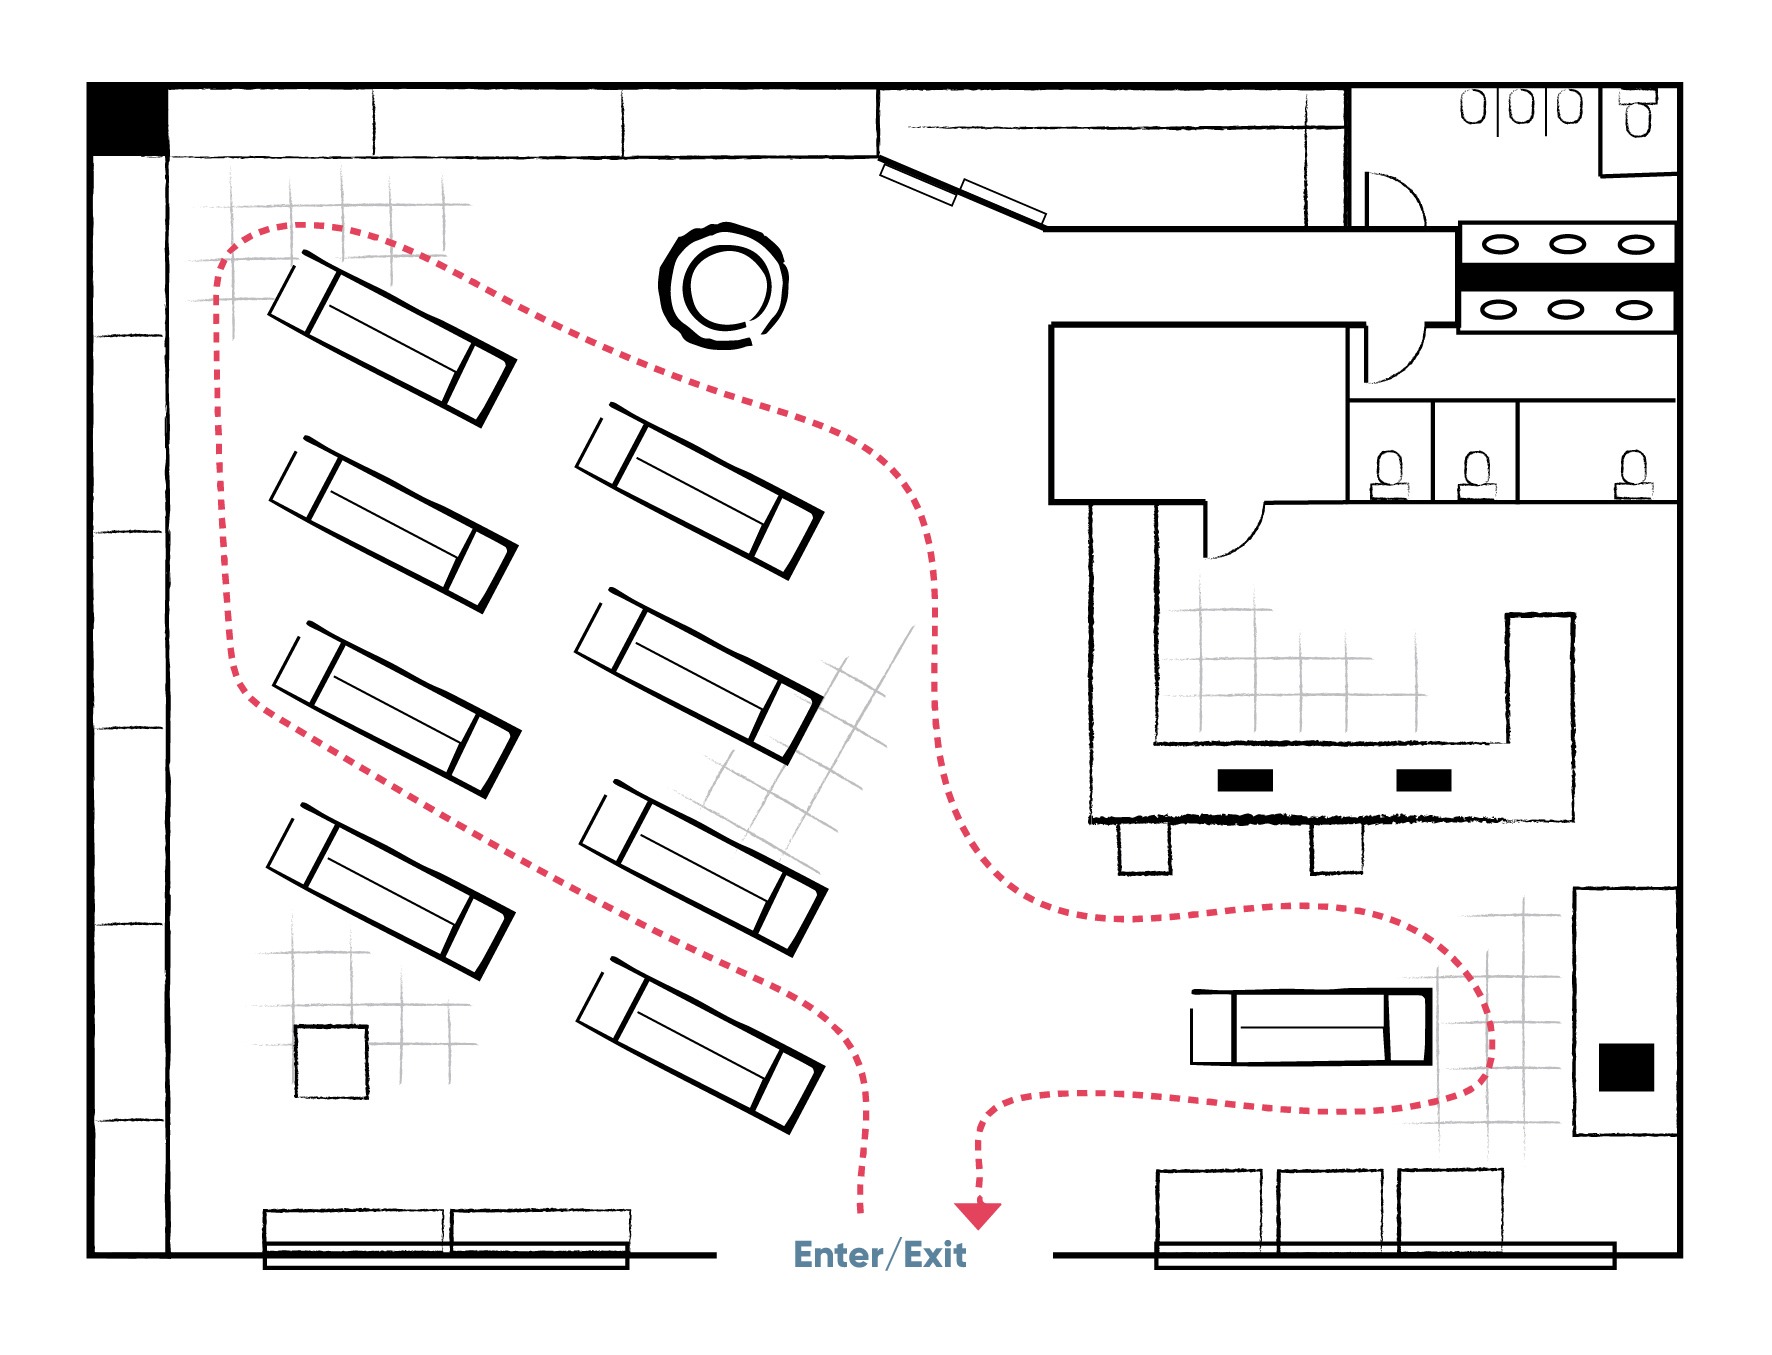
Straight
Also called a spine layout, the straight aisle structure is easy to plan and cost-effective. It utilizes signage, product displays, and strategically placed merchandise to keep shoppers engaged. This simple approach can create an inviting space that encourages shoppers to linger and browse when done right. However, there’s a risk that customers will move too quickly down the main aisle and overlook merchandise at the front and sides of the store.
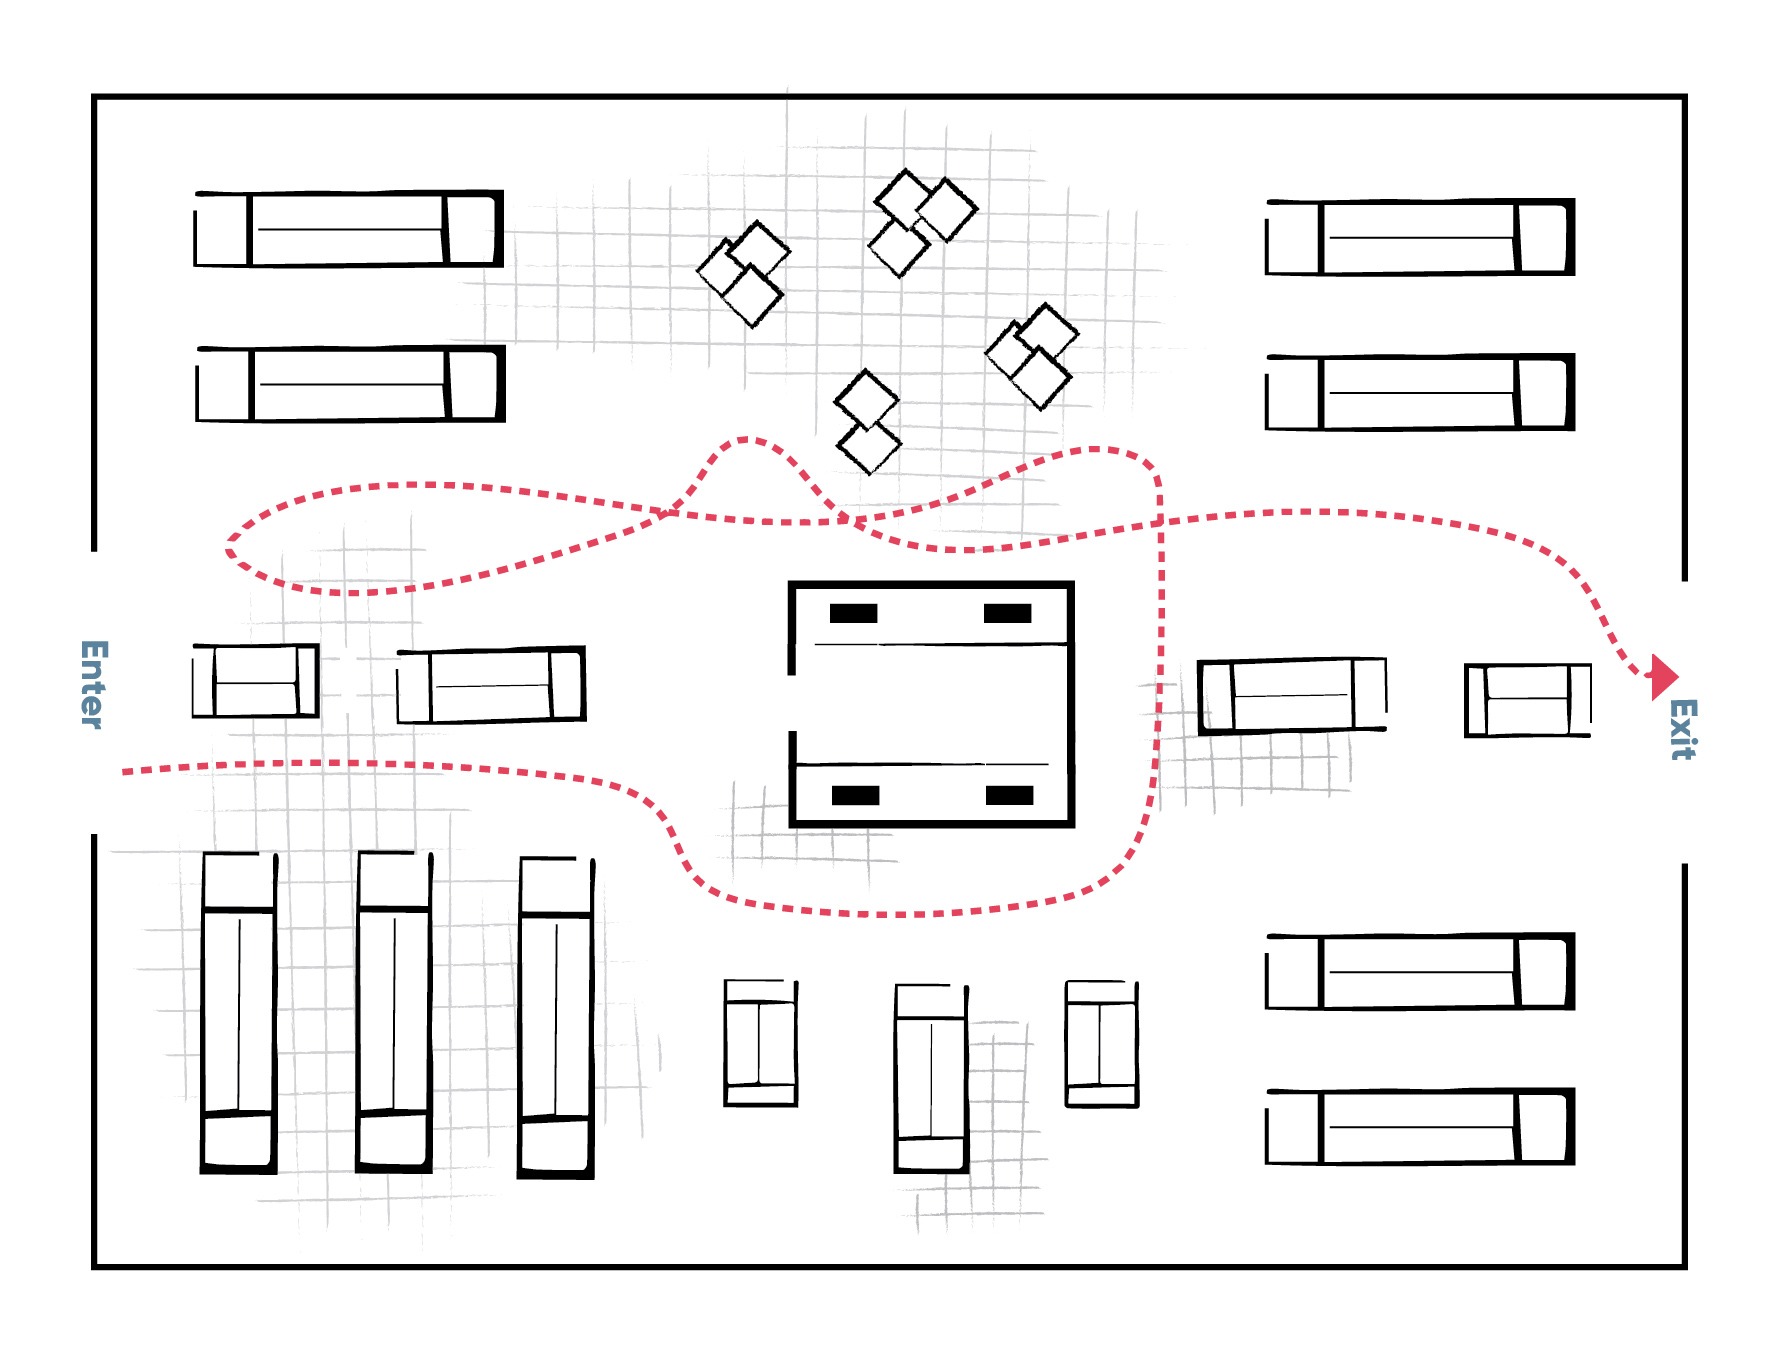
Free-Flow
This layout approach doesn’t intend to lead customers through a prescribed traffic pattern. It encourages shoppers to wander around the store and explore the products at their own pace. It works well for small spaces and is best suited for high-end stores with less merchandise but an emphasis on experiential retail. However, there’s less space to display products and, sometimes, the lack of structure can confuse shoppers who are more accustomed to a traditional store design.
Diagonal
This variation of the grid layout places aisles at an angle to expose more merchandise to customers while guiding them to the checkout area. It’s a good option for stores with limited space as it encourages movement so customers can see all the products. However, the layout can make aisles narrower, and as with the grid layout, customers can’t take shortcuts to find the items they need.

Step 3: Assess Customer Flow and Behaviors
Your store layout should anticipate how customers move through the space so you can encourage them to explore as much merchandise as possible. For example, most customers turn right when they enter a store, loop around, and head back to the checkout area at the left. Adhering to this pattern can make the navigation through the store more intuitive and create a more seamless shopping experience.
Additionally, understand the buying behaviors of your target audience to adapt the store design to meet their needs. For example, shoppers who seek variety may appreciate a layout that encourages exploration (e.g., free-flow), and impulsive buyers tend to make decisions based on celebrity endorsements, slogans, logos, or advertising materials. Meanwhile, shoppers seeking experience may enjoy the storytelling aspect of a racetrack layout.
>> Related post: Adapting to Evolving Consumer Buying Patterns
Step 4: Identify and Block Out Zones
Understanding the various zones in your store enables you to strategically place displays, signage, and fixtures to facilitate customer flow, encourage certain behaviors, and maximize sales.
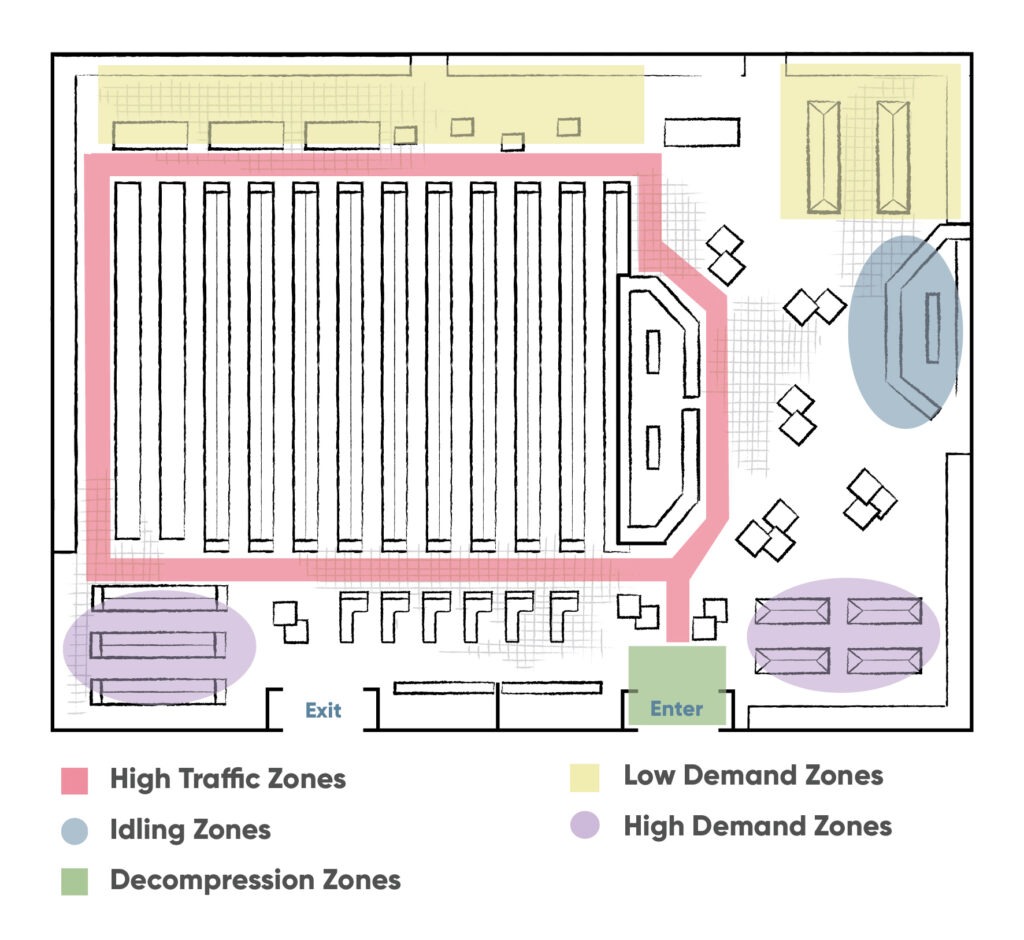
- High traffic zones: The main path customers go through to reach the high-demand zones.
- Idling zones: Sections where customers stop to wait for services (e.g., bakery, deli, meat counter, checkout.)
- Decompression zones: The area where customers transition from the outside to the interior of the store.
- Low demand zones: These aisles contain items shoppers don’t buy frequently. Guiding customers through this area on their way to high demand zones can trigger impulse purchases.
- High demand zones: These areas contain frequently purchased products that are often at the back or the perimeter of a store, so shoppers have to go through low demand zones to get to the items they need.
You can also use a high-level zone layout strategy to give your store plan more agility in adapting to seasonal shifts while providing customers with familiar guideposts to navigate the store. These zones include a core zone, impulse area, flex zone, and outdoor area.
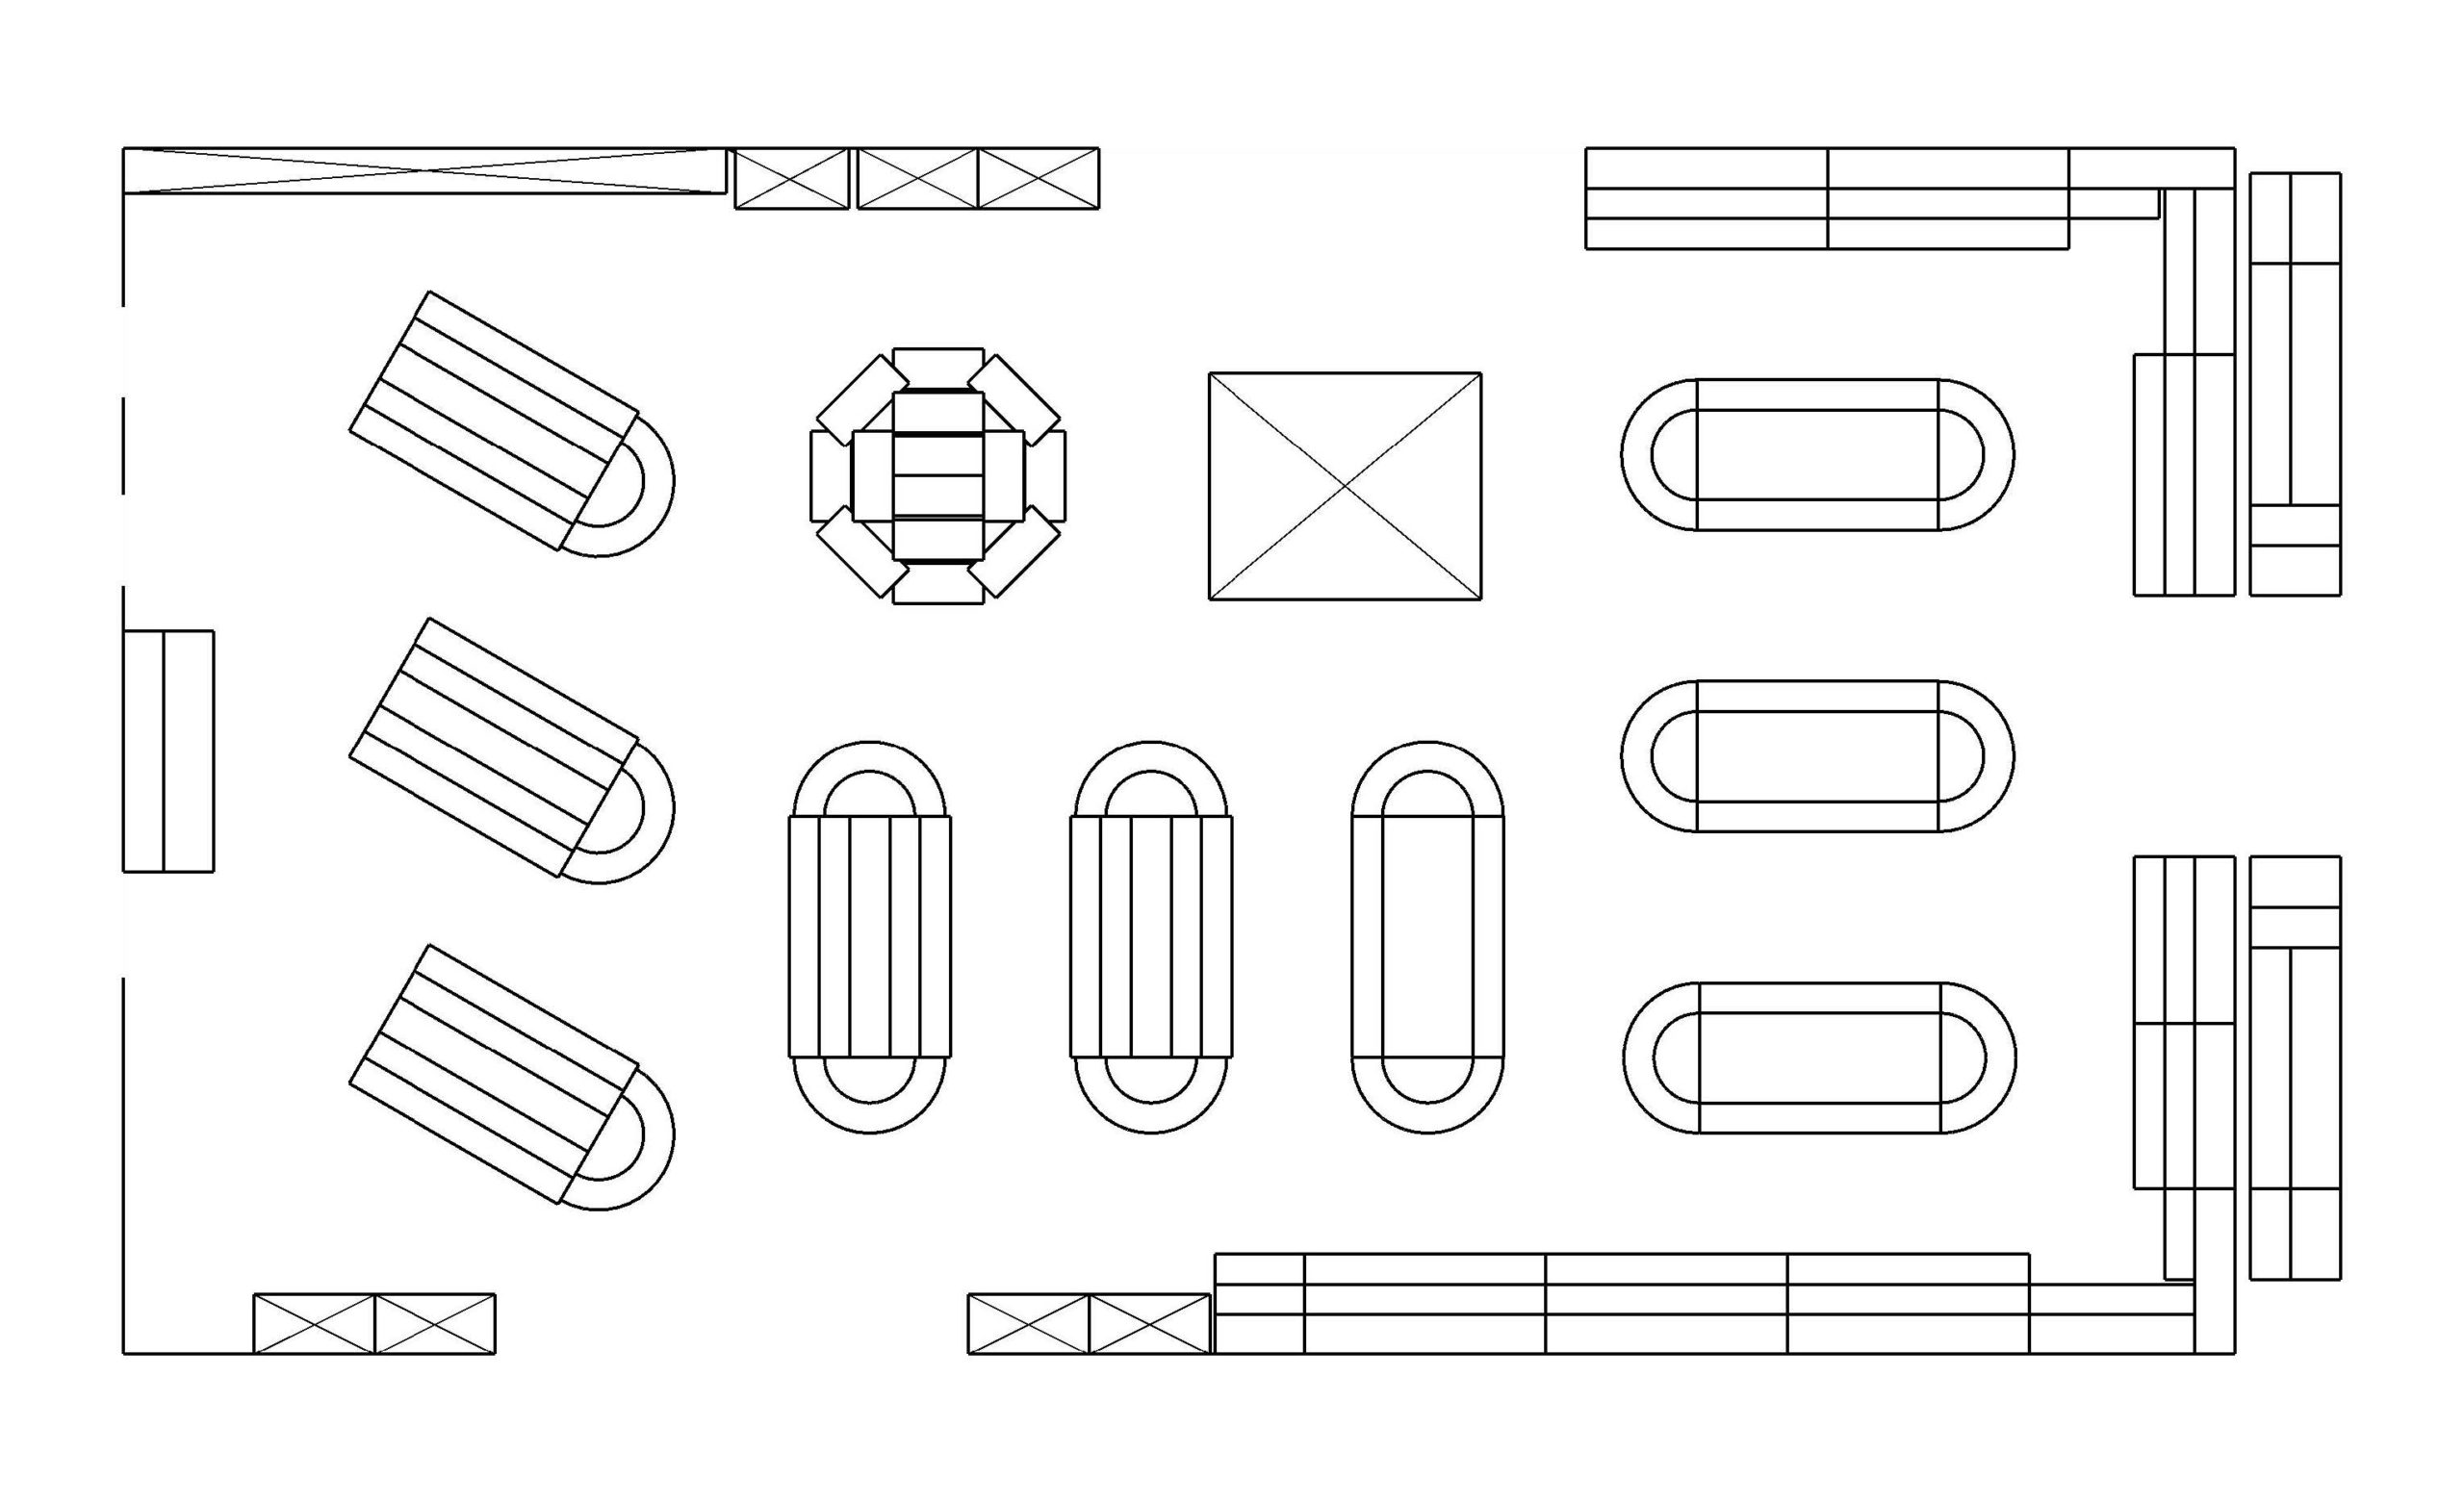
Step 5: Explore Product Mapping
Product mapping is the process of determining where to place products in the store based on the retail layout you have selected. It provides a high-level strategy to guide the creation of a planogram—a visual diagram that details where each product is placed within the store layout and on the shelves. While planograms are updated frequently according to product inventory and display usage, a product mapping strategy provides a longer-term direction to deliver a consistent customer experience.
By combining product mapping and planogram creation, you can connect more effectively with your customers through product display while maximizing your real estate and shelf space. This enables you to create an in-store journey to cater to customer preferences, shopping habits, demographics, psychographics, and so on.
Your product mapping plan should include the following:
- A small section to display sales merchandise and promotional items
- An area for seasonal or limited-availability products
- Exterior space to showcase products generally used outdoors
- An impulse display strategy along the aisles and near the checkout
Step 6: Choose Displays and Fixtures
The appropriate display and store fixtures can draw attention to products and guide customers through the store. Here are some common types:
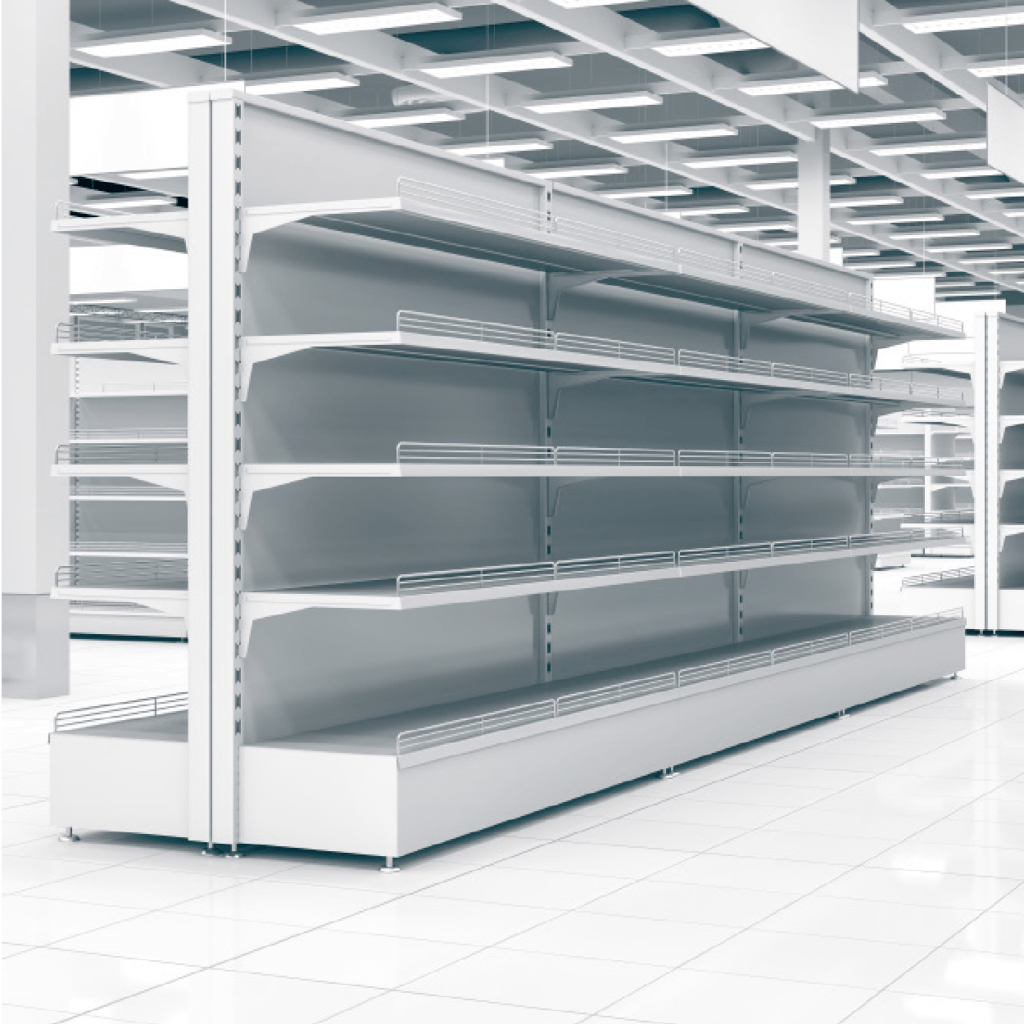
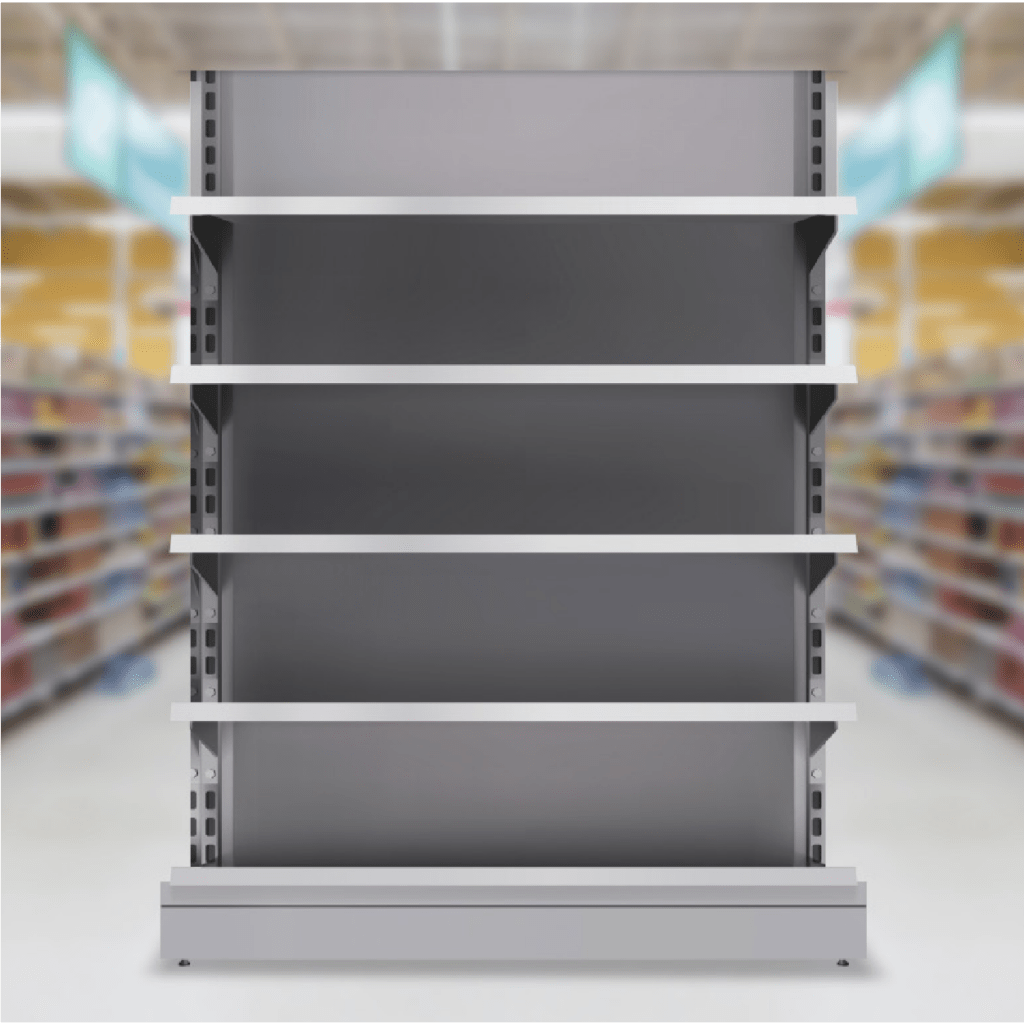
Gondola Display
Free-standing shelving units for large open areas. They can display multiple products and support cross-selling by showing complementary items alongside each other.
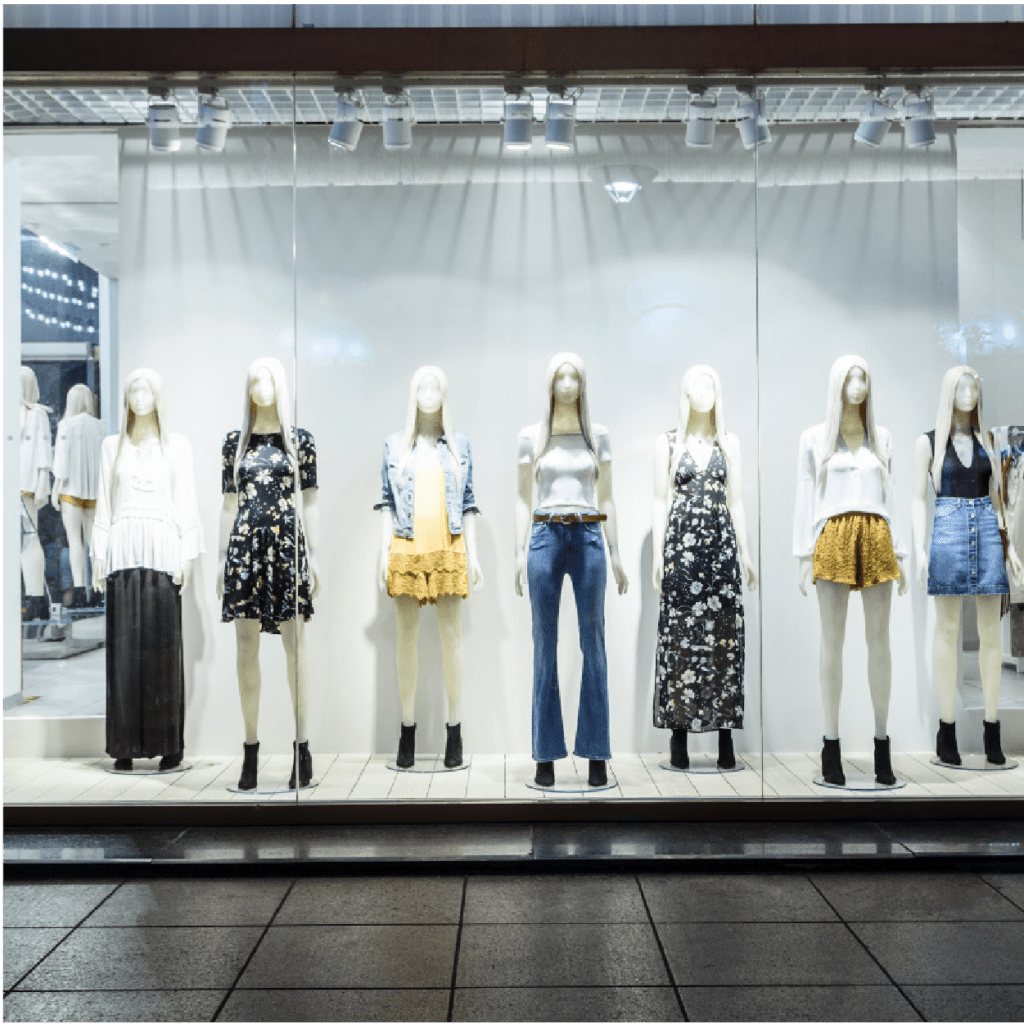
Window Displays
These units are used in the show window to draw customers into the store. They are visually attractive and serve to communicate the retailer’s brand image.
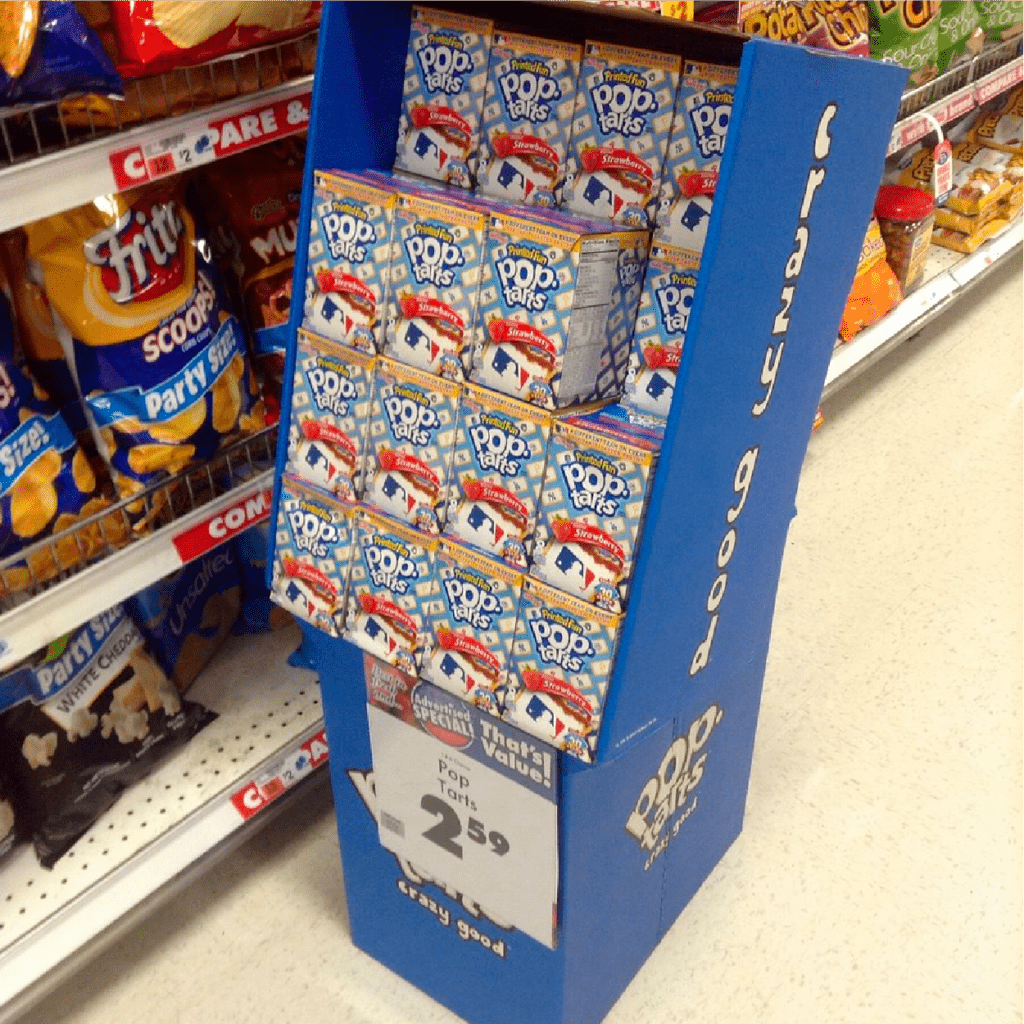
POP Display
These units use signage, visual content, and interactive elements to guide visitors through the store or provide in-depth information about a brand or its products.
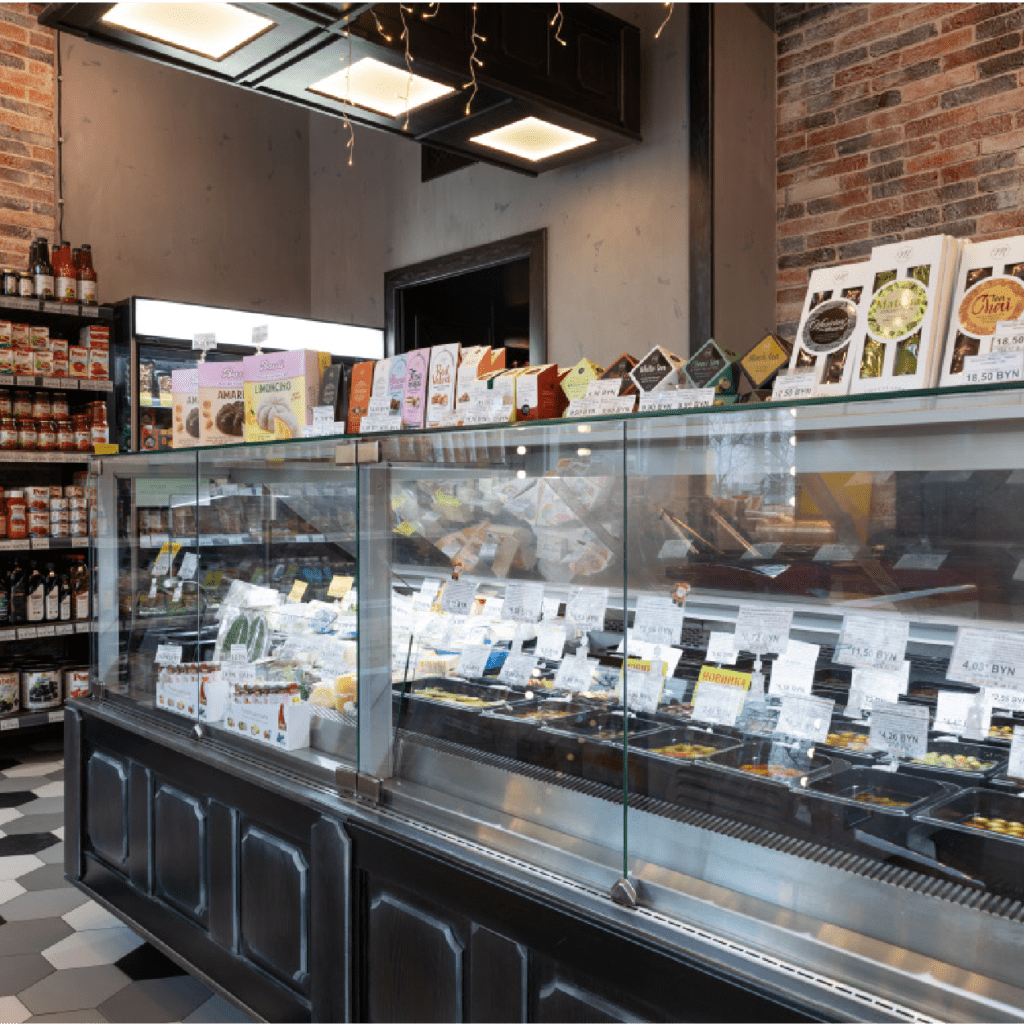
Display Cases
Often made of glass or plastic, these transparent, free-standing cases are enclosed on all sides. They protect high-ticket items while making the products appear valuable.
End-Cap Units
These units occupy prime locations at the ends of the aisles. They attract the attention of shoppers who walk through the main alley without requiring them to enter the aisles.
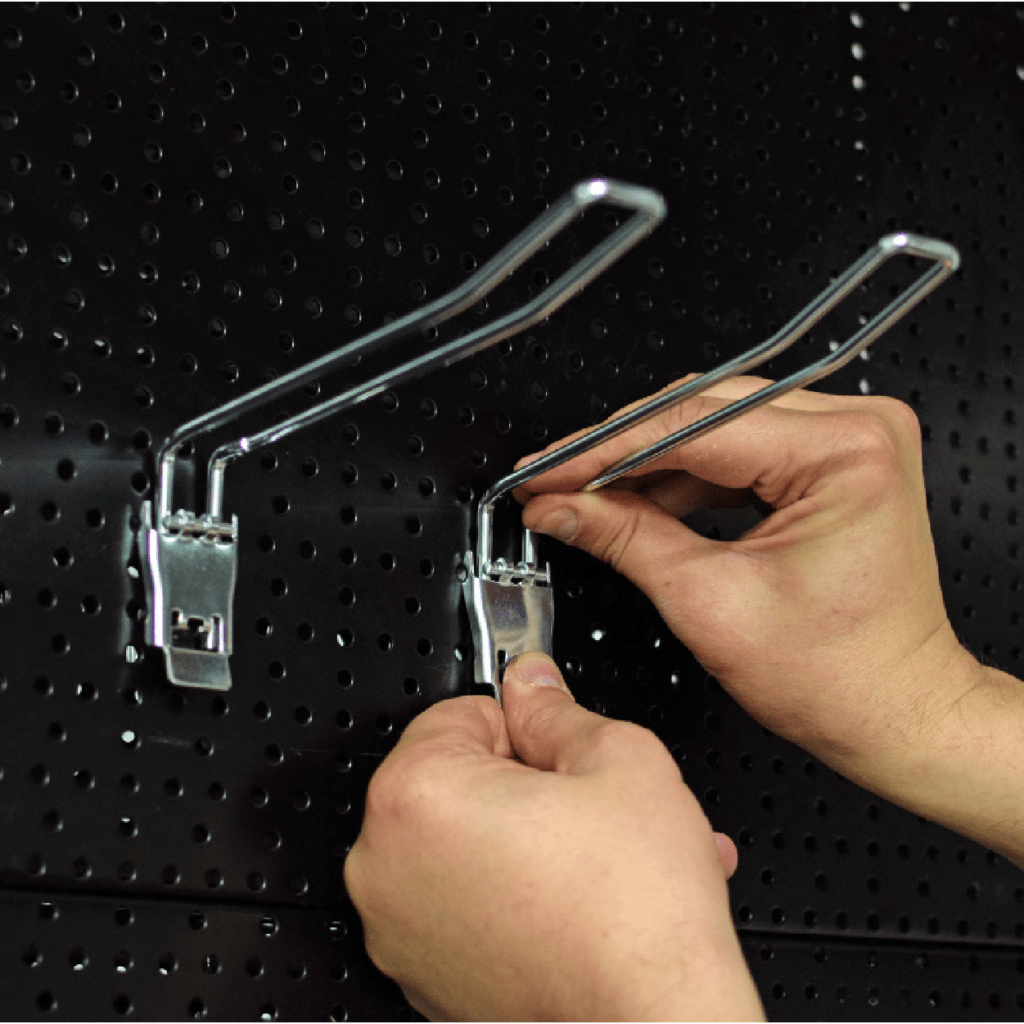
Pegboards and Gridwalls
These space-saving fixtures allow you to display merchandise on walls without taking up any space on the floor. They’re great for showcasing lighter and smaller items.
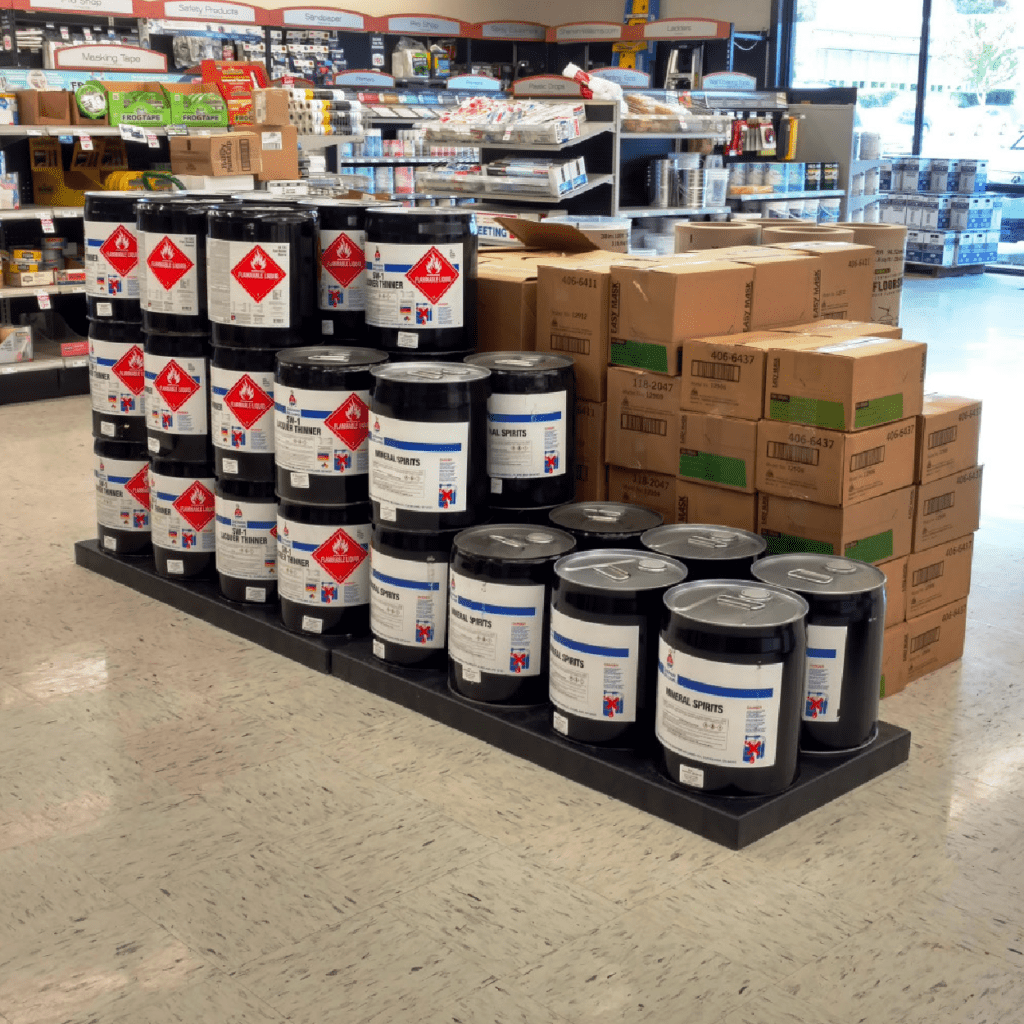
Platform Units
These single-level displays can be used for pallet stacks, end caps, side stacks, and storytelling vignettes. They typically elevate products 6 to 12-inches off the ground.
Tables
From single, multi-tier, or nesting styles, these displays are a versatile way to create promotional and seasonal displays that will help draw attention to the merchandise on display.
How To Choose and Source Displays and Fixtures
Start by choosing a permanent fixture you can use year-round to serve as the foundation and shape the aisles. Then, add flexible units you can repurpose as the store design changes. Lastly, layer in affordable temporary displays from product suppliers (e.g., POP, sidekicks, shippers).
Here are some things to keep in mind:
- Determine if you’ll use custom or stock display units based on your timeline, budget, and design intent.
- Choose the materials of the units by balancing longevity, durability, ease of maintenance, and cost.
- Ensure that the display unit aligns with your brand image.
- Work in the production and delivery timeline of the display units as part of your roll-out timeframe.
- Look for versatile display units you can use and reuse now and in the future.
- Consider sustainability, especially if it’s part of your brand’s message and mission.
>> Related post: The Basic Principles for Design and Visual Displays
Step 7: Finalize and Refine Your Plan
Now that you have considered all the elements, it’s time to put everything together into a final store layout plan. Make sure that the various pieces work well with each other. Revisit the goals and project scope you listed in step 1 to validate that the store layout aligns with the project’s objectives.
Refine your plan as needed to balance all the constraints and requirements. Then, determine a task list, create a timeline, and establish milestones to support the execution of your plan.
Store Planning Resources
Using the right tools and getting professional support can make the store planning process much more efficient while ensuring that you’re meeting your goals.
Professional Design Companies
You can hire an architecture and interior design firm to handle the store design process. This higher-cost option is suitable for lifestyle or experiential brands willing to invest in communicating a unique image and attracting specific target audiences.
In-House Services From Display and Fixture Manufacturers
Some display and fixture vendors provide in-house store planning services to help their customers streamline the planning and sourcing process. Here at SPC Retail, we offer a layout service to our customers at no additional cost to ensure that they get the best solution.
Planning Software
You can use various software applications to help with retail space planning. Examples include Quant, SmartDraw, DotActiv, and Leafio Planogram Optimization. Some of them also have retail analytics features to help you take a data-driven approach to shop planning.
Inspiration Sources
Keep your eyes on the latest trends by browsing through social media sites, such as Pinterest and Instagram. You can also get inspiration and learn about the latest technologies from industry publications such as VMSD, NRF News, and Retail TouchPoints.
Final Thoughts
A well-conceived store layout can have a substantial impact on how customers interact with your brand. It can help you drive foot traffic, deliver an on-brand customer experience, and keep shoppers coming back.
There are many considerations when it comes to store design. Using the right display solution can bring your vision to life while introducing the agility you need to meet changing customer expectations cost-effectively.